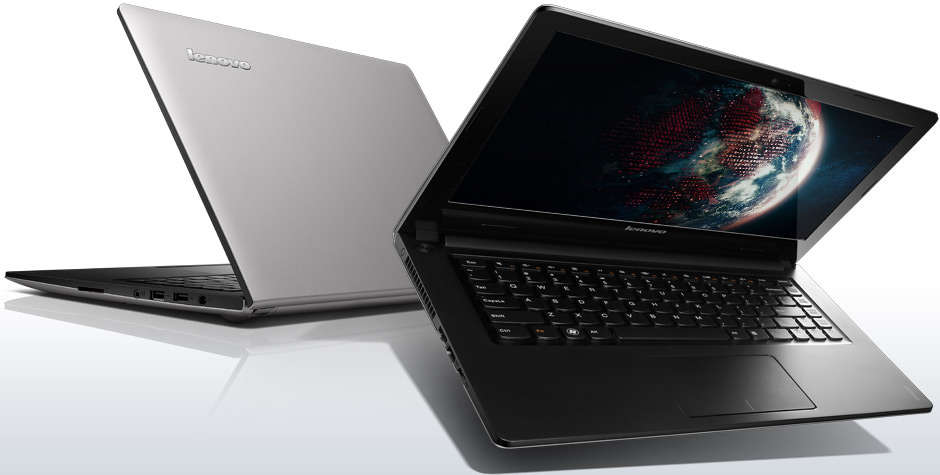
Do you intend to simplify your learning strategy by taking screenshots when you attend online classes? Of course, yes, who wants to prepare notes and waste their precious time? Taking screenshots will save you a hell of a lot of time, and you can have your notes prepared in order. But don’t know how to take screenshots on Lenovo? Then you are in the right place.
This article will help you to learn “how to screenshot on Lenovo,” which runs on Windows. Taking a screenshot is almost similar in all laptops, whatever the brand it belongs to, but it depends on the type of OS you use and the keyboard format. Lenovo laptops use a standard keyboard in common.
Contents
Take Screenshot On Lenovo By Built-in Tools
These methods do not require any installations or downloads from the internet, These tools and techniques are by default present in all Lenovo laptops. Read to know how to screenshot on Lenovo Laptop using such default methods.
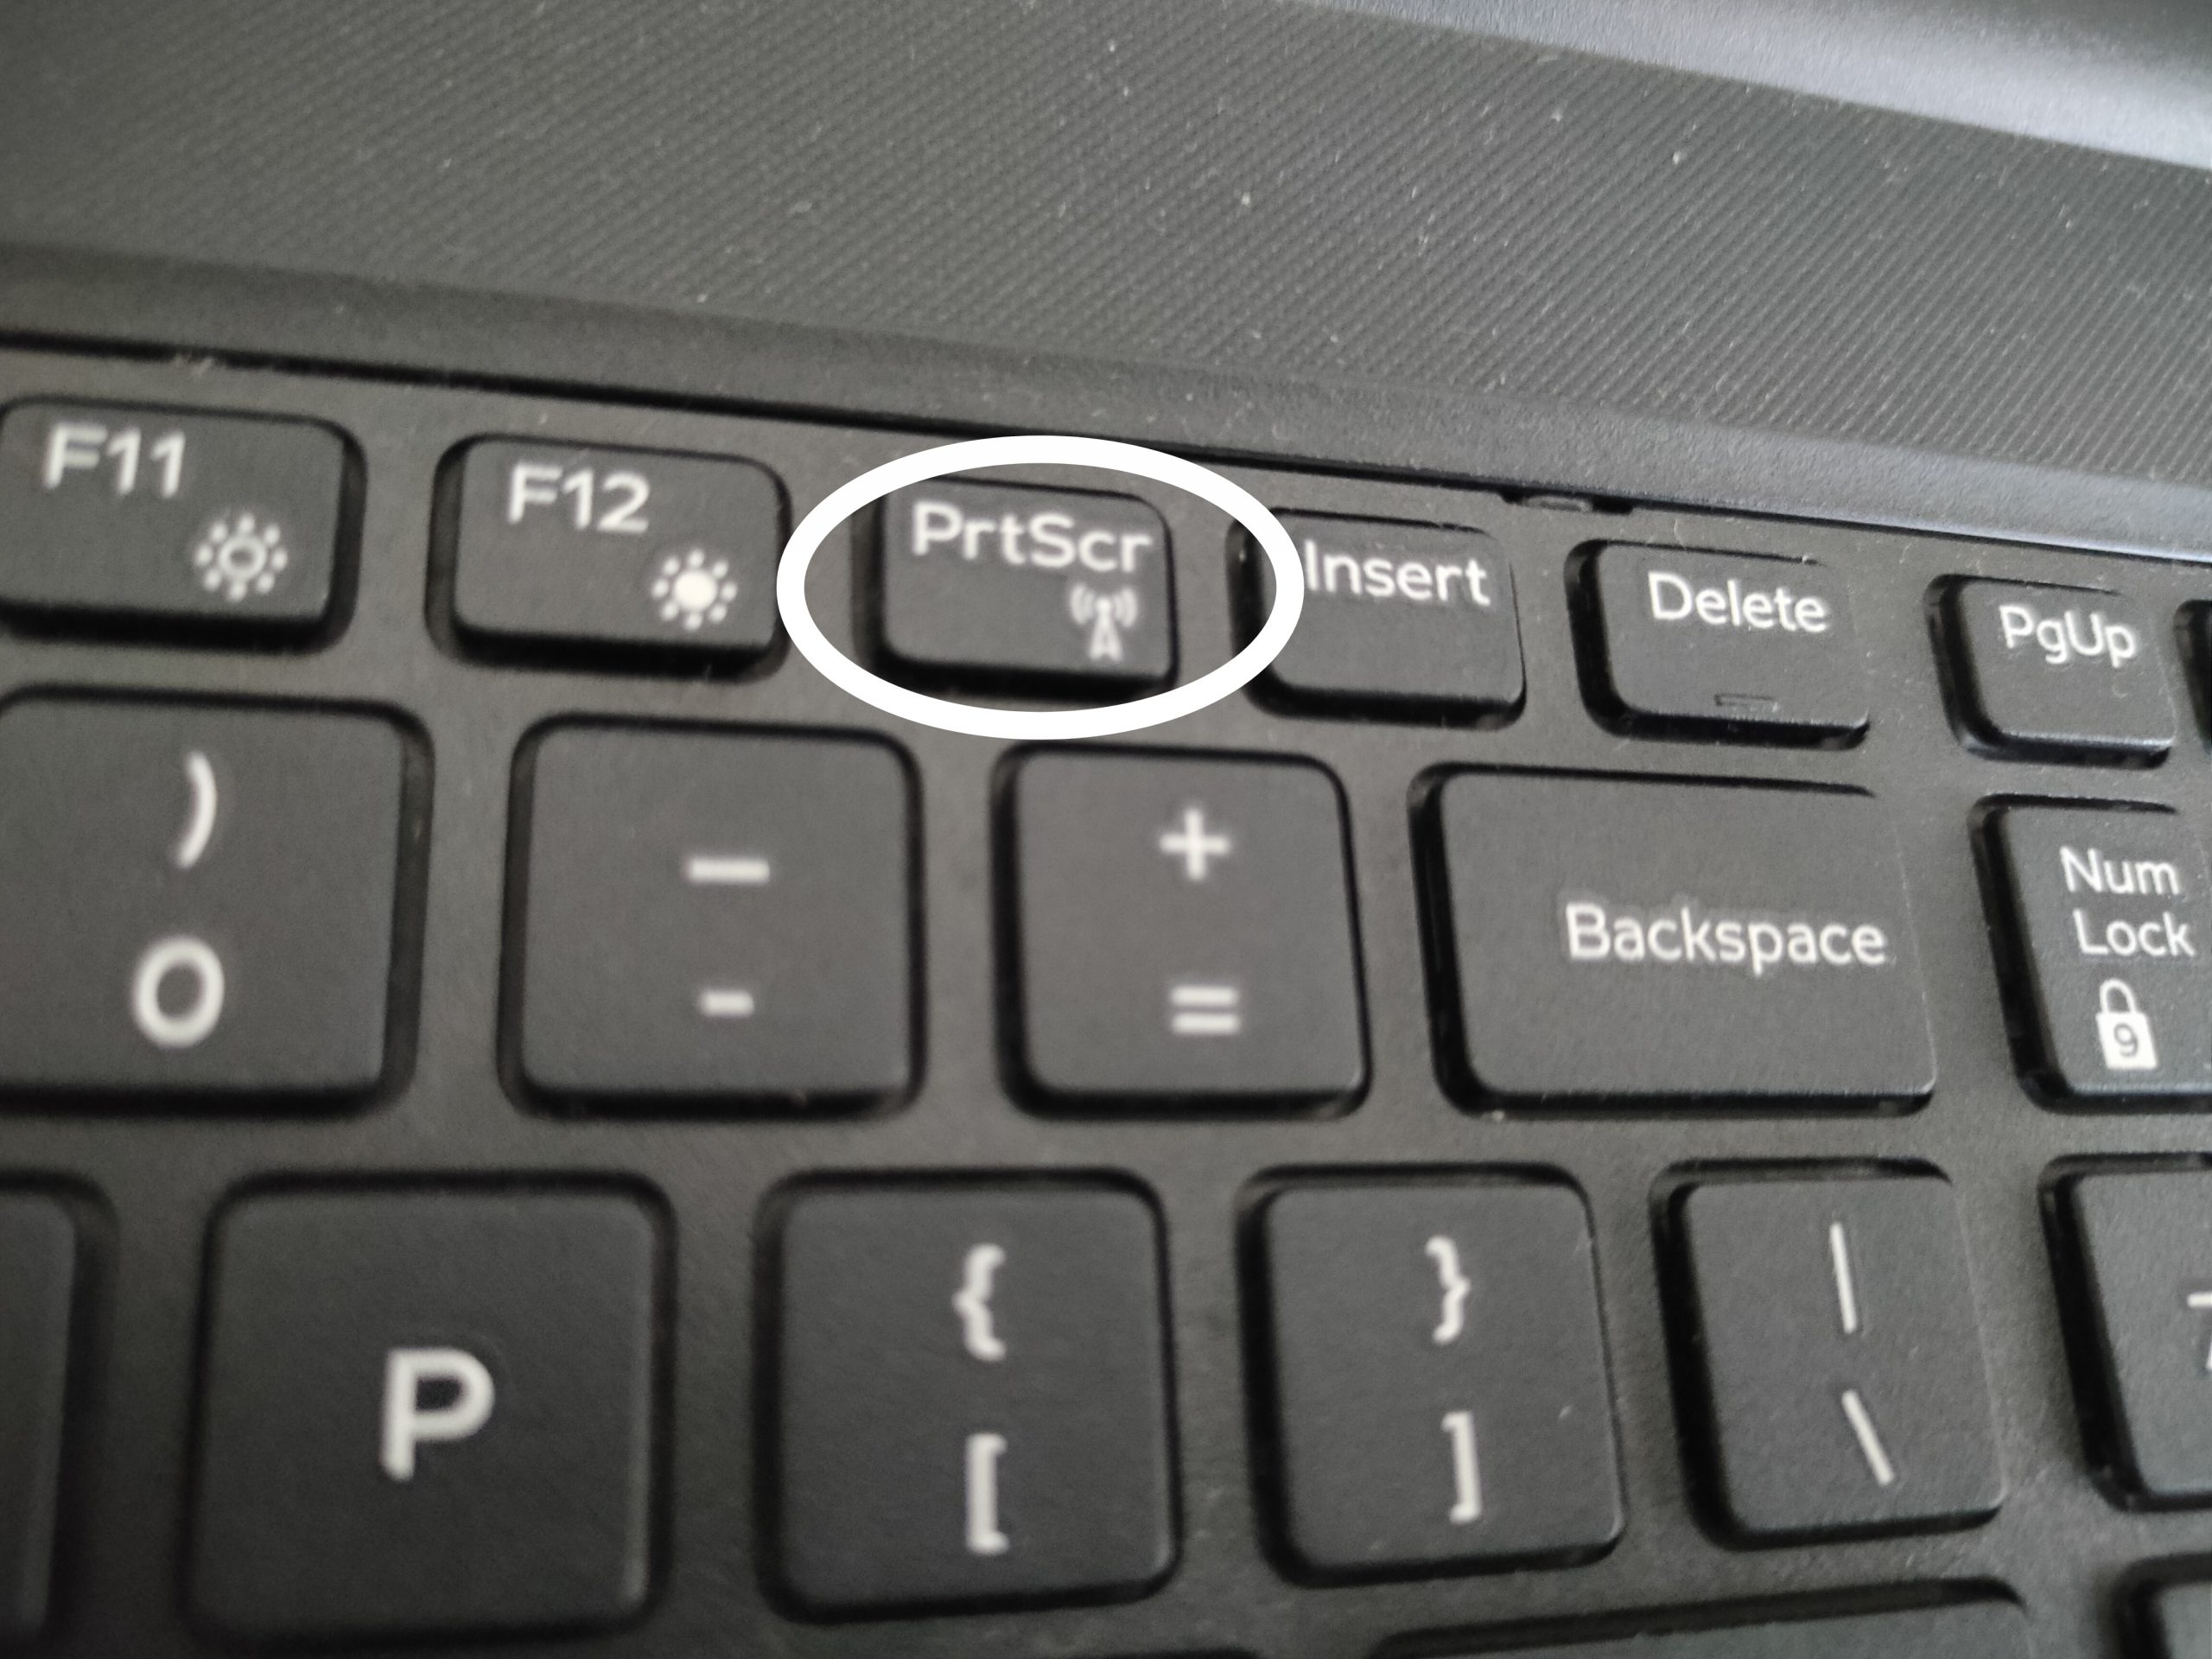
Method 1: Snap The Entire Screen Using the “PrtScr” Key
You Can find this option on your Lenovo laptop keyboard in the middle of the “Insert” and “Delete” keys. This option helps you to snap the entire screen. Moreover, this option is very easy to use because all you need to do is, tap once on the key “PrtScr” on your keyboard. You can take multiple screenshots in a very short time.
Where To Find Screenshots Taken:
- Go to start.
- Click on This PC.
- Then click on the “Picture” folder.
- Then select “Screenshot.”
Wondering how the folder got created by itself? Nothing to worry about; once you take the first screenshot “Screenshot” folder gets created by itself on your PC in the picture folder.
Method 2: Capture Custom Sized Screenshots Using Snip & Sketch
Snip & Sketch is the default tool, it is available in all Lenovo laptops that run on Windows 8 and above.

This app is very useful to take custom-sized screenshots on your Lenovo laptop.
Step To Use the Snip & Sketch Tool
- Click on start.
- Search Snip & Sketch.
- Then select the application.
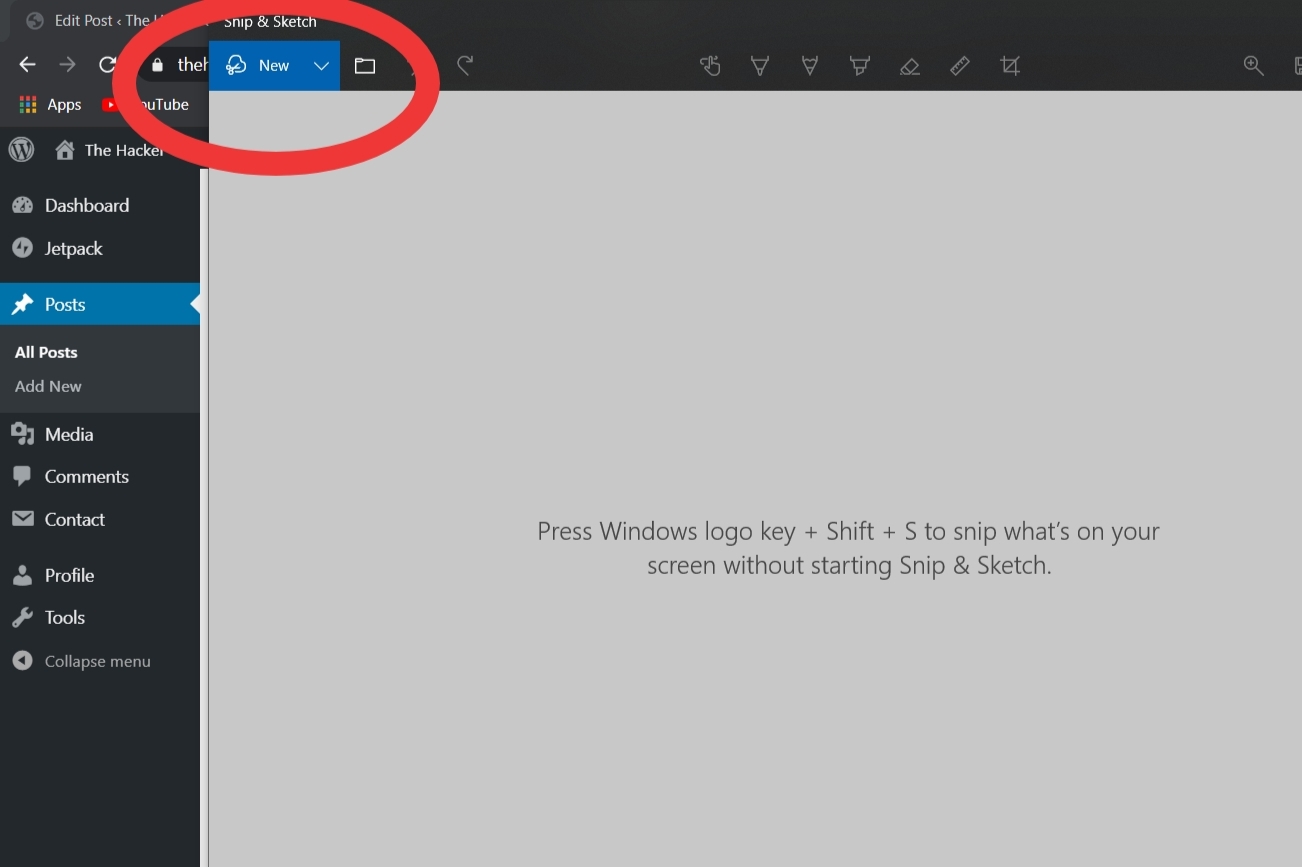
- Select “New“.
- The cursor changes to a ‘+‘ symbol.
- Then select the required part of your screen by dragging the cursor.
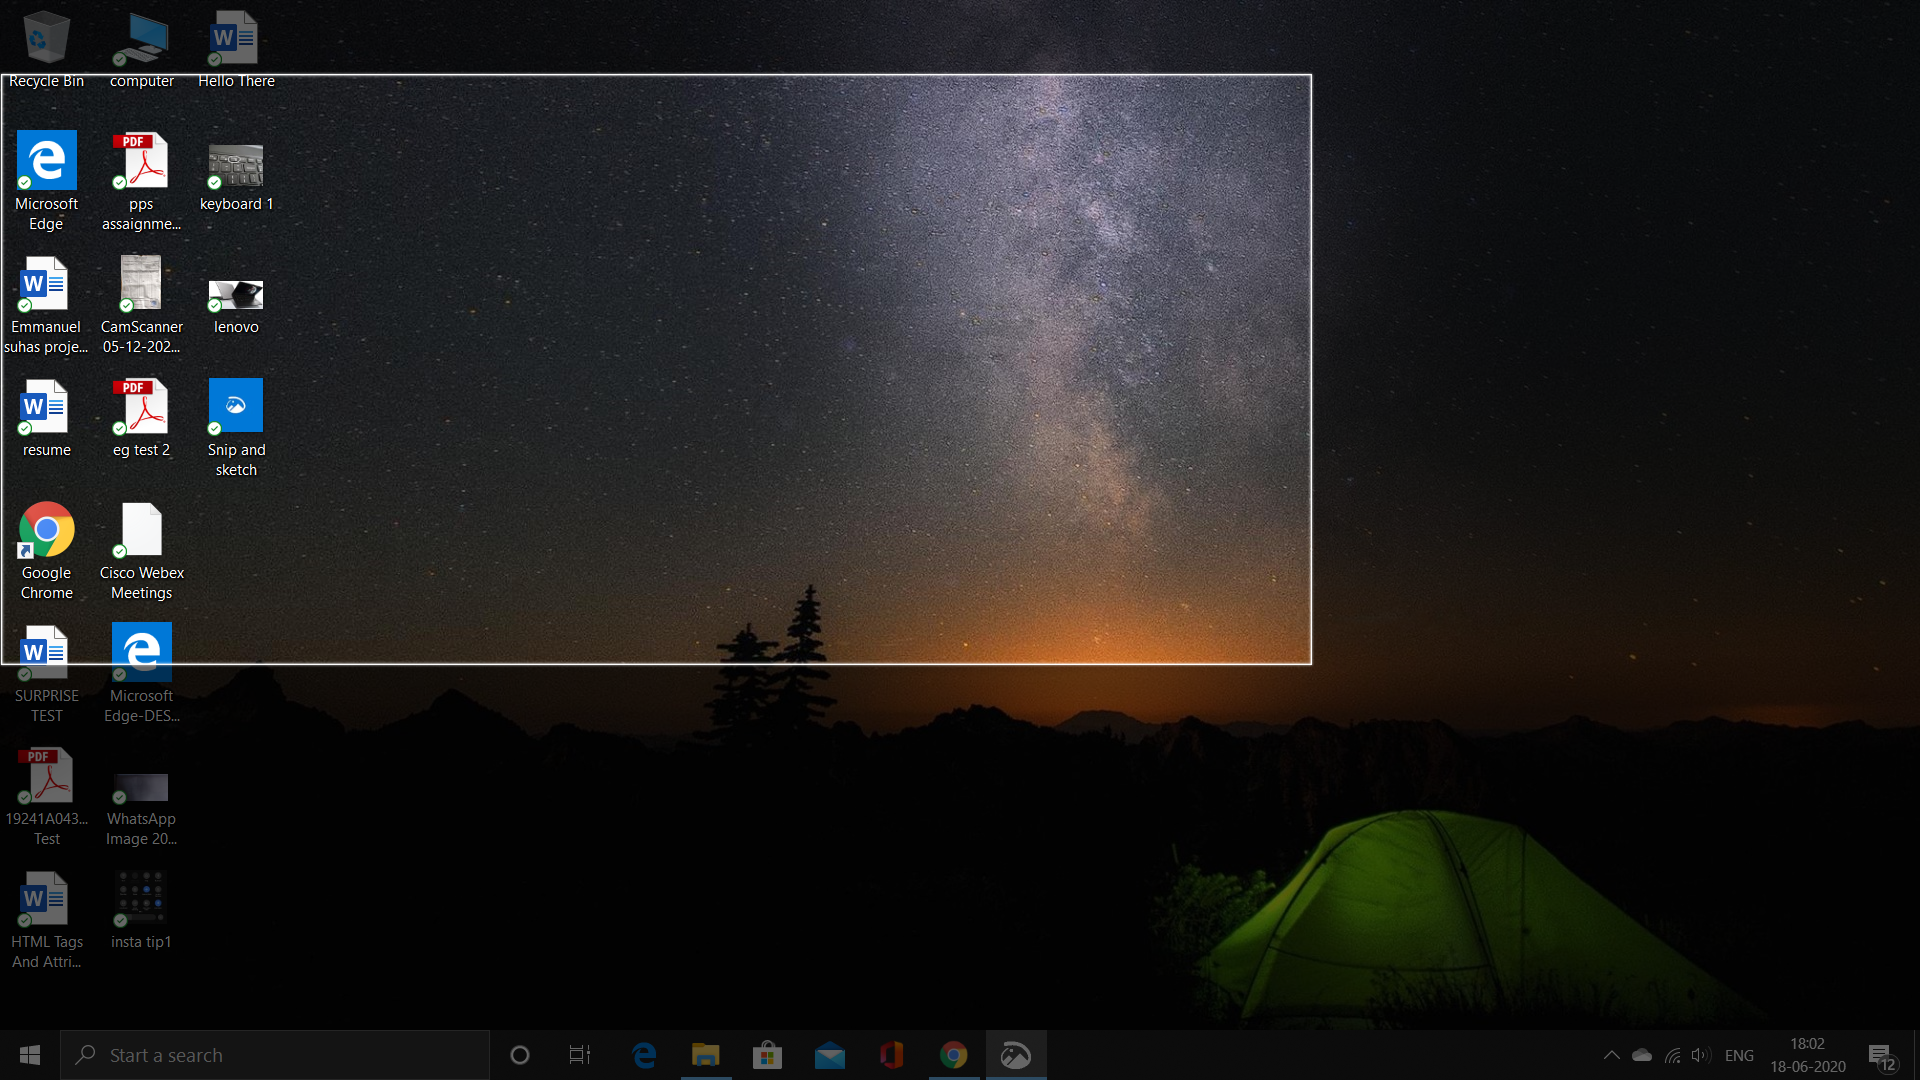
- Then release the cursor.
- The screenshot taken will be displayed in the application.
- Now edit as per your requirements and save the screenshot by simply pressing Ctrl+S on your Lenovo Laptop.
* You can simply use the shortcut (Windows logo key + Shift + S) to open the application (alternative).
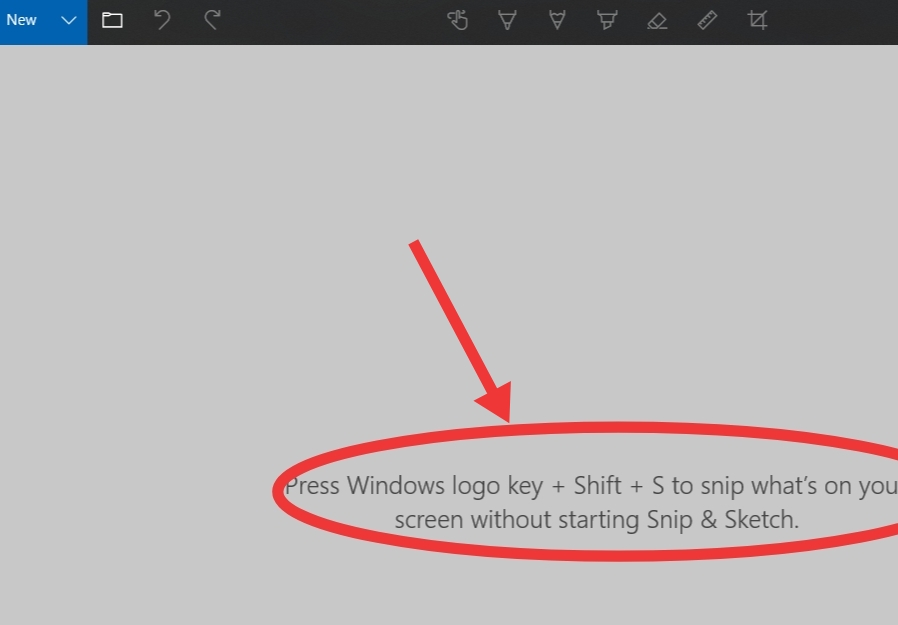
Method 3: Snipping Tool For Windows 7 & Below
If your Lenovo laptop is not running on the latest Windows version like Windows 7 and below, then this tool will surely help you to take custom-sized screenshots. This tool is mostly similar to Snip & Sketch, but because it is an older version of Snip & Sketch it does not have as many options as Snip & Sketch.
![]()
Follow the steps mentioned below to screenshot using the Snipping tool:
- Click on the Start button.
- Then type Snipping Tool in the search bar and select the option.
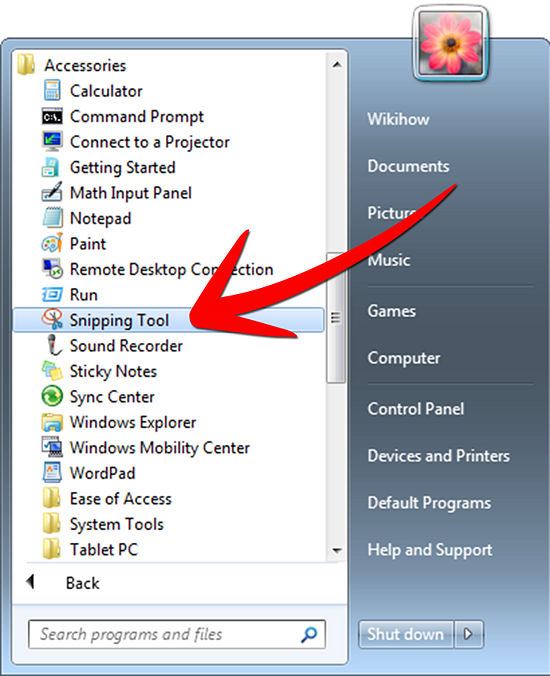
- Then select new.
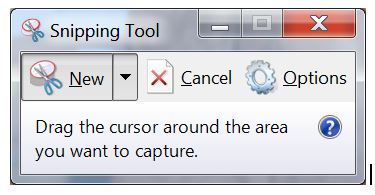
- After that, select the required part of the screen by dragging the cursor.
- Then release the cursor.
- Then edit and save the screenshot by pressing Ctrl+S.
Screenshot Tools Available On The Internet
Best screenshot programs with powerful editing options available to download to your Lenovo laptop.
There are some screenshot programs available on the internet. Some of the best screenshot programs available are mentioned below and go through all the steps to know how to download them and use these programs.
Continue Reading to know how to screenshot on Lenovo using such tools.
1. Snagit

Snagit is one of the best premium screenshot tool and the best editor. It enables you to capture custom-sized screenshots and has high-end editing capabilities.
Click on the link below to download Snagit.
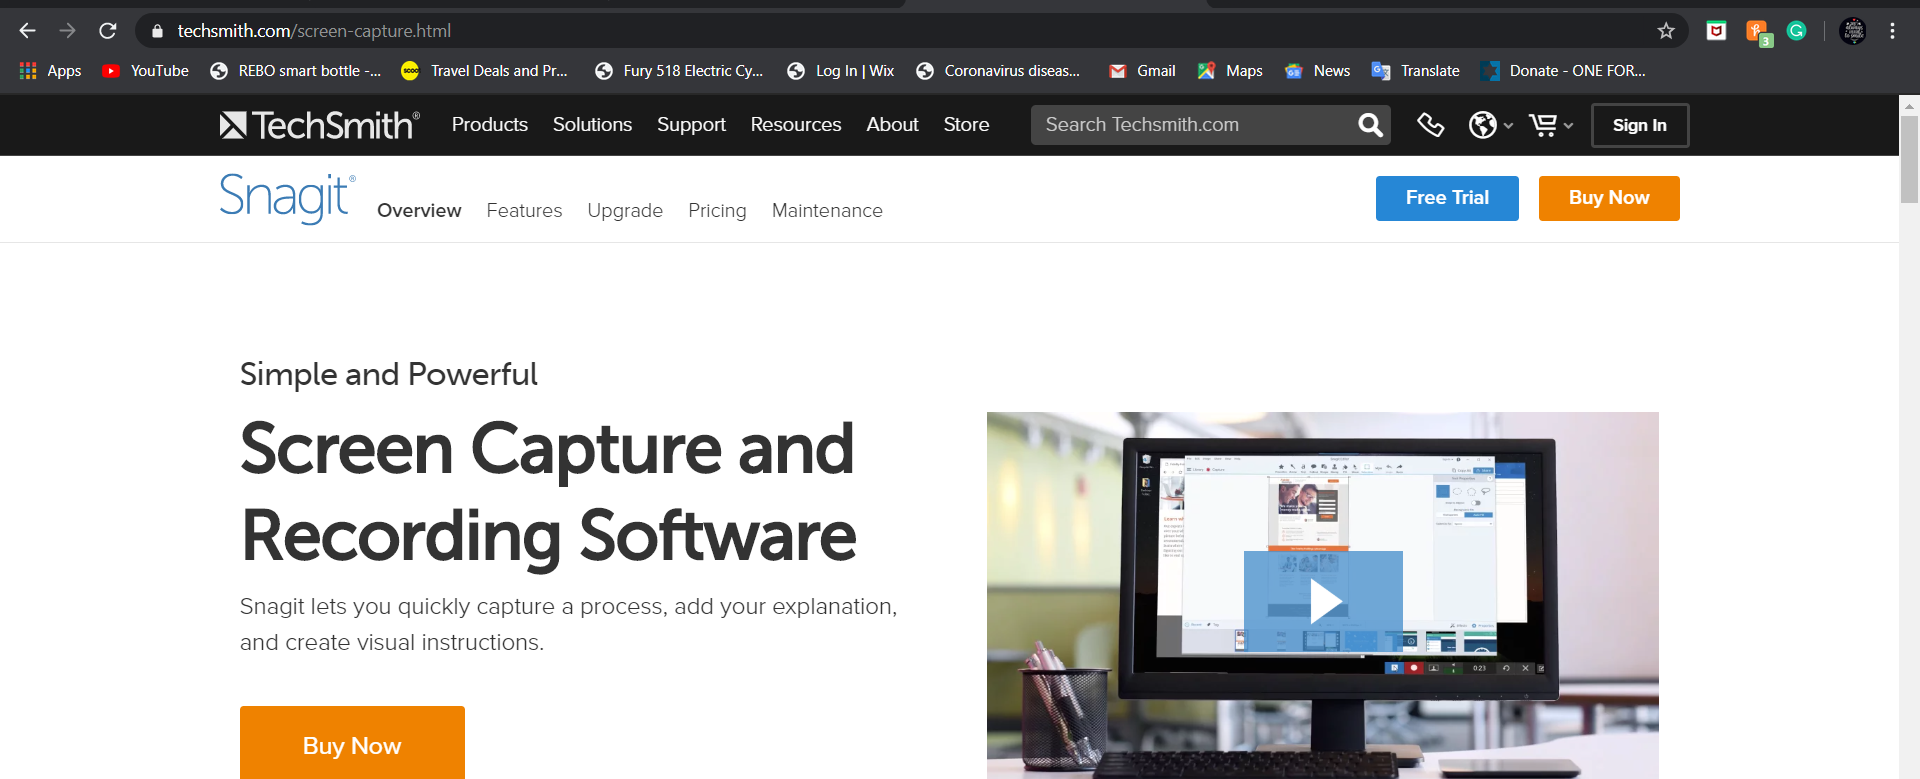
Firstly you can have a free trial and if you think that this tool is worthy to buy you can buy it for the specified amount.
Step To Use Snagit
- Go to Start and search for Snagit.
- Then choose the tab mentioned.
Snagit contains three tabs: Image, Video, and All-in-one. The tabs allow you to pick particular capture settings and make things happen even faster.
- Click on the capture.
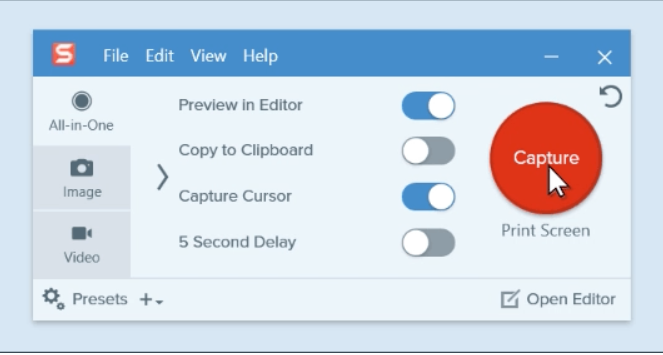
- Then using crosshairs select what you want to capture.
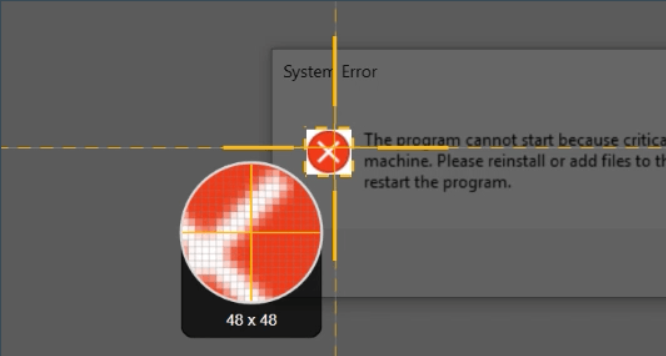
- Then release the crosshairs to preview your selection.
- After that, you edit the screenshot and save it.
You can also share the screenshots taken by clicking on the share option.

2. GreenShot
GeenShot is a free screenshot tool for Windows Lenovo Laptops.
It Has The Following Key Features:
- It quickly creates screenshots of a selected region, window, and fullscreen.
- You can also capture complete (scrolling) web pages from Internet Explorer.
- You can add notes easily, highlight and you can blur the parts of the screenshot.
- Export the screenshot in various ways: save to file, send to the printer, copy to clipboard, attach to e-mail, send Office programs or upload to photo sites like Flickr or Picasa, and others.
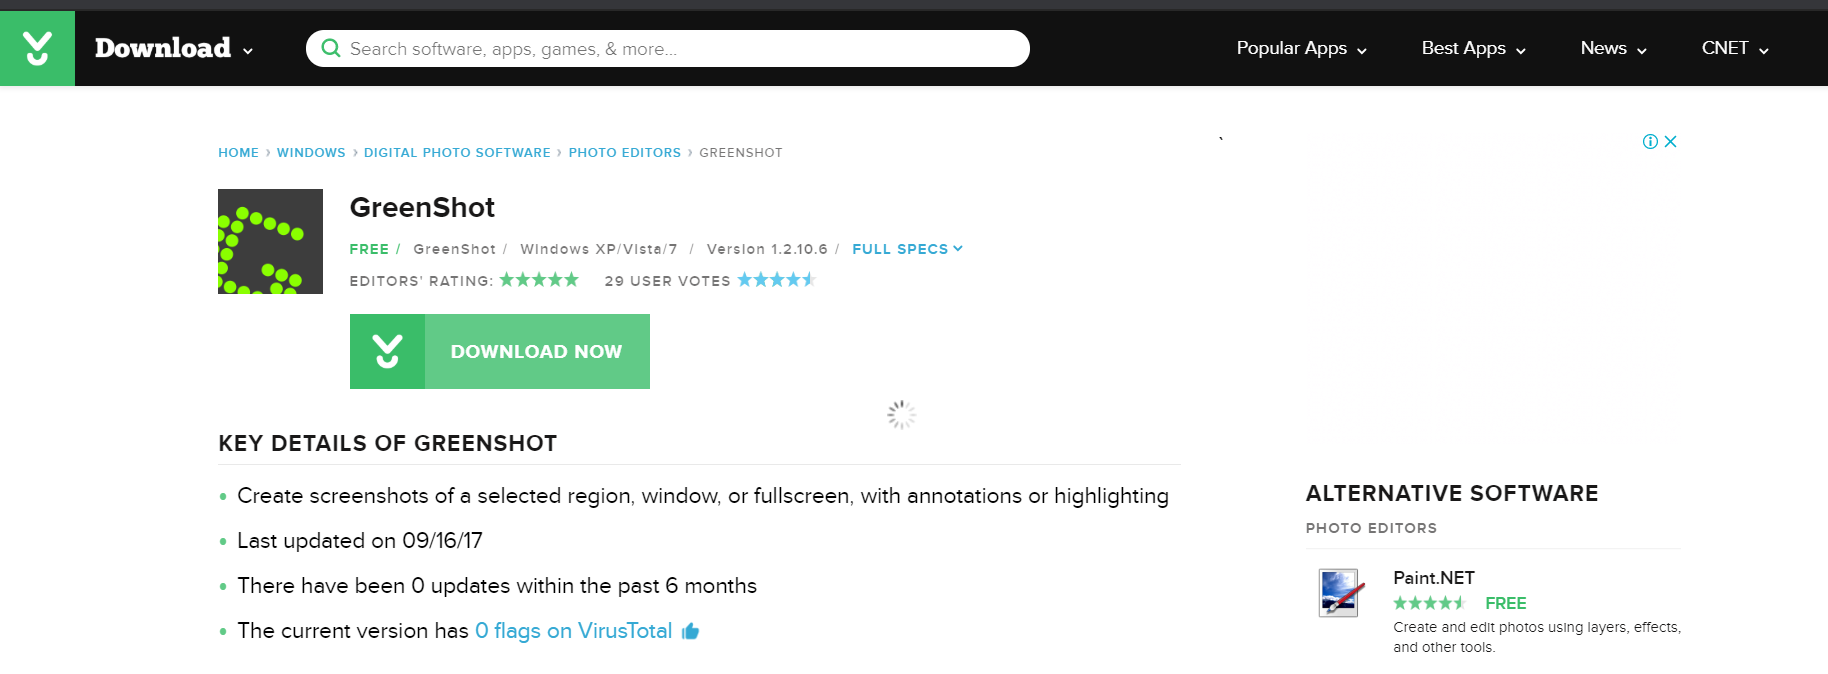
Click on the link below to download GreenShot tool.
Click here to download GreenShot
This tool is 100% free to download.
Step To use The GreenShot Tool
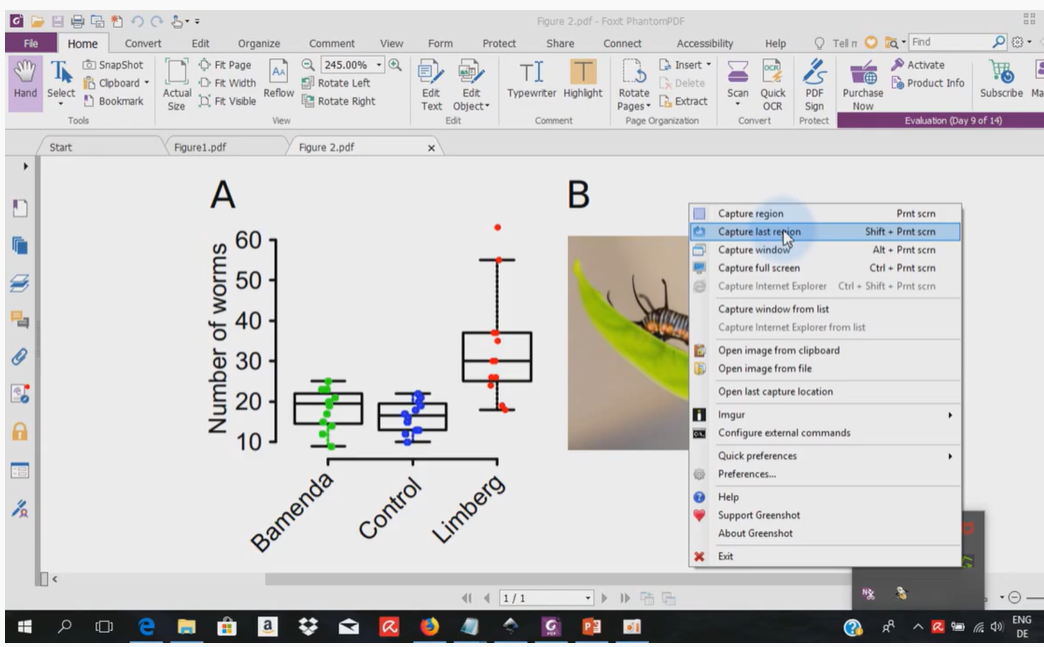
- To capture a region, use the “PrtScr” key. This allows you to capture what you exactly want to capture.
- To capture the last region, use “Shift+PrtScr“. This allows you to capture the previous screenshot that you lost someone how.
- To capture Window, use “Alt+PrtScr“. This will allow you to capture the active window.
- Use “Ctrl+PrtScr” to capture full screen. This will allow you to capture the whole screen.
3. Other Screenshot Tools
Other screenshot tools that support Lenovo laptops are mentioned below. Click to download.
Conclusion
Hope you found the answer to your question about how to screenshot on Lenovo. The methods and tools mentioned above will surely help you take screenshots quickly and easily on your Lenovo laptop. You will not face any trouble while using these tools, they are 100% secure to use, and most of them are available for free.
Read and follow the steps very carefully to avoid further trouble. Any queries, please bring them to our notice by mentioning them in the comment section below.
Leave a Reply